Natural Dyes – using kitchen scraps!
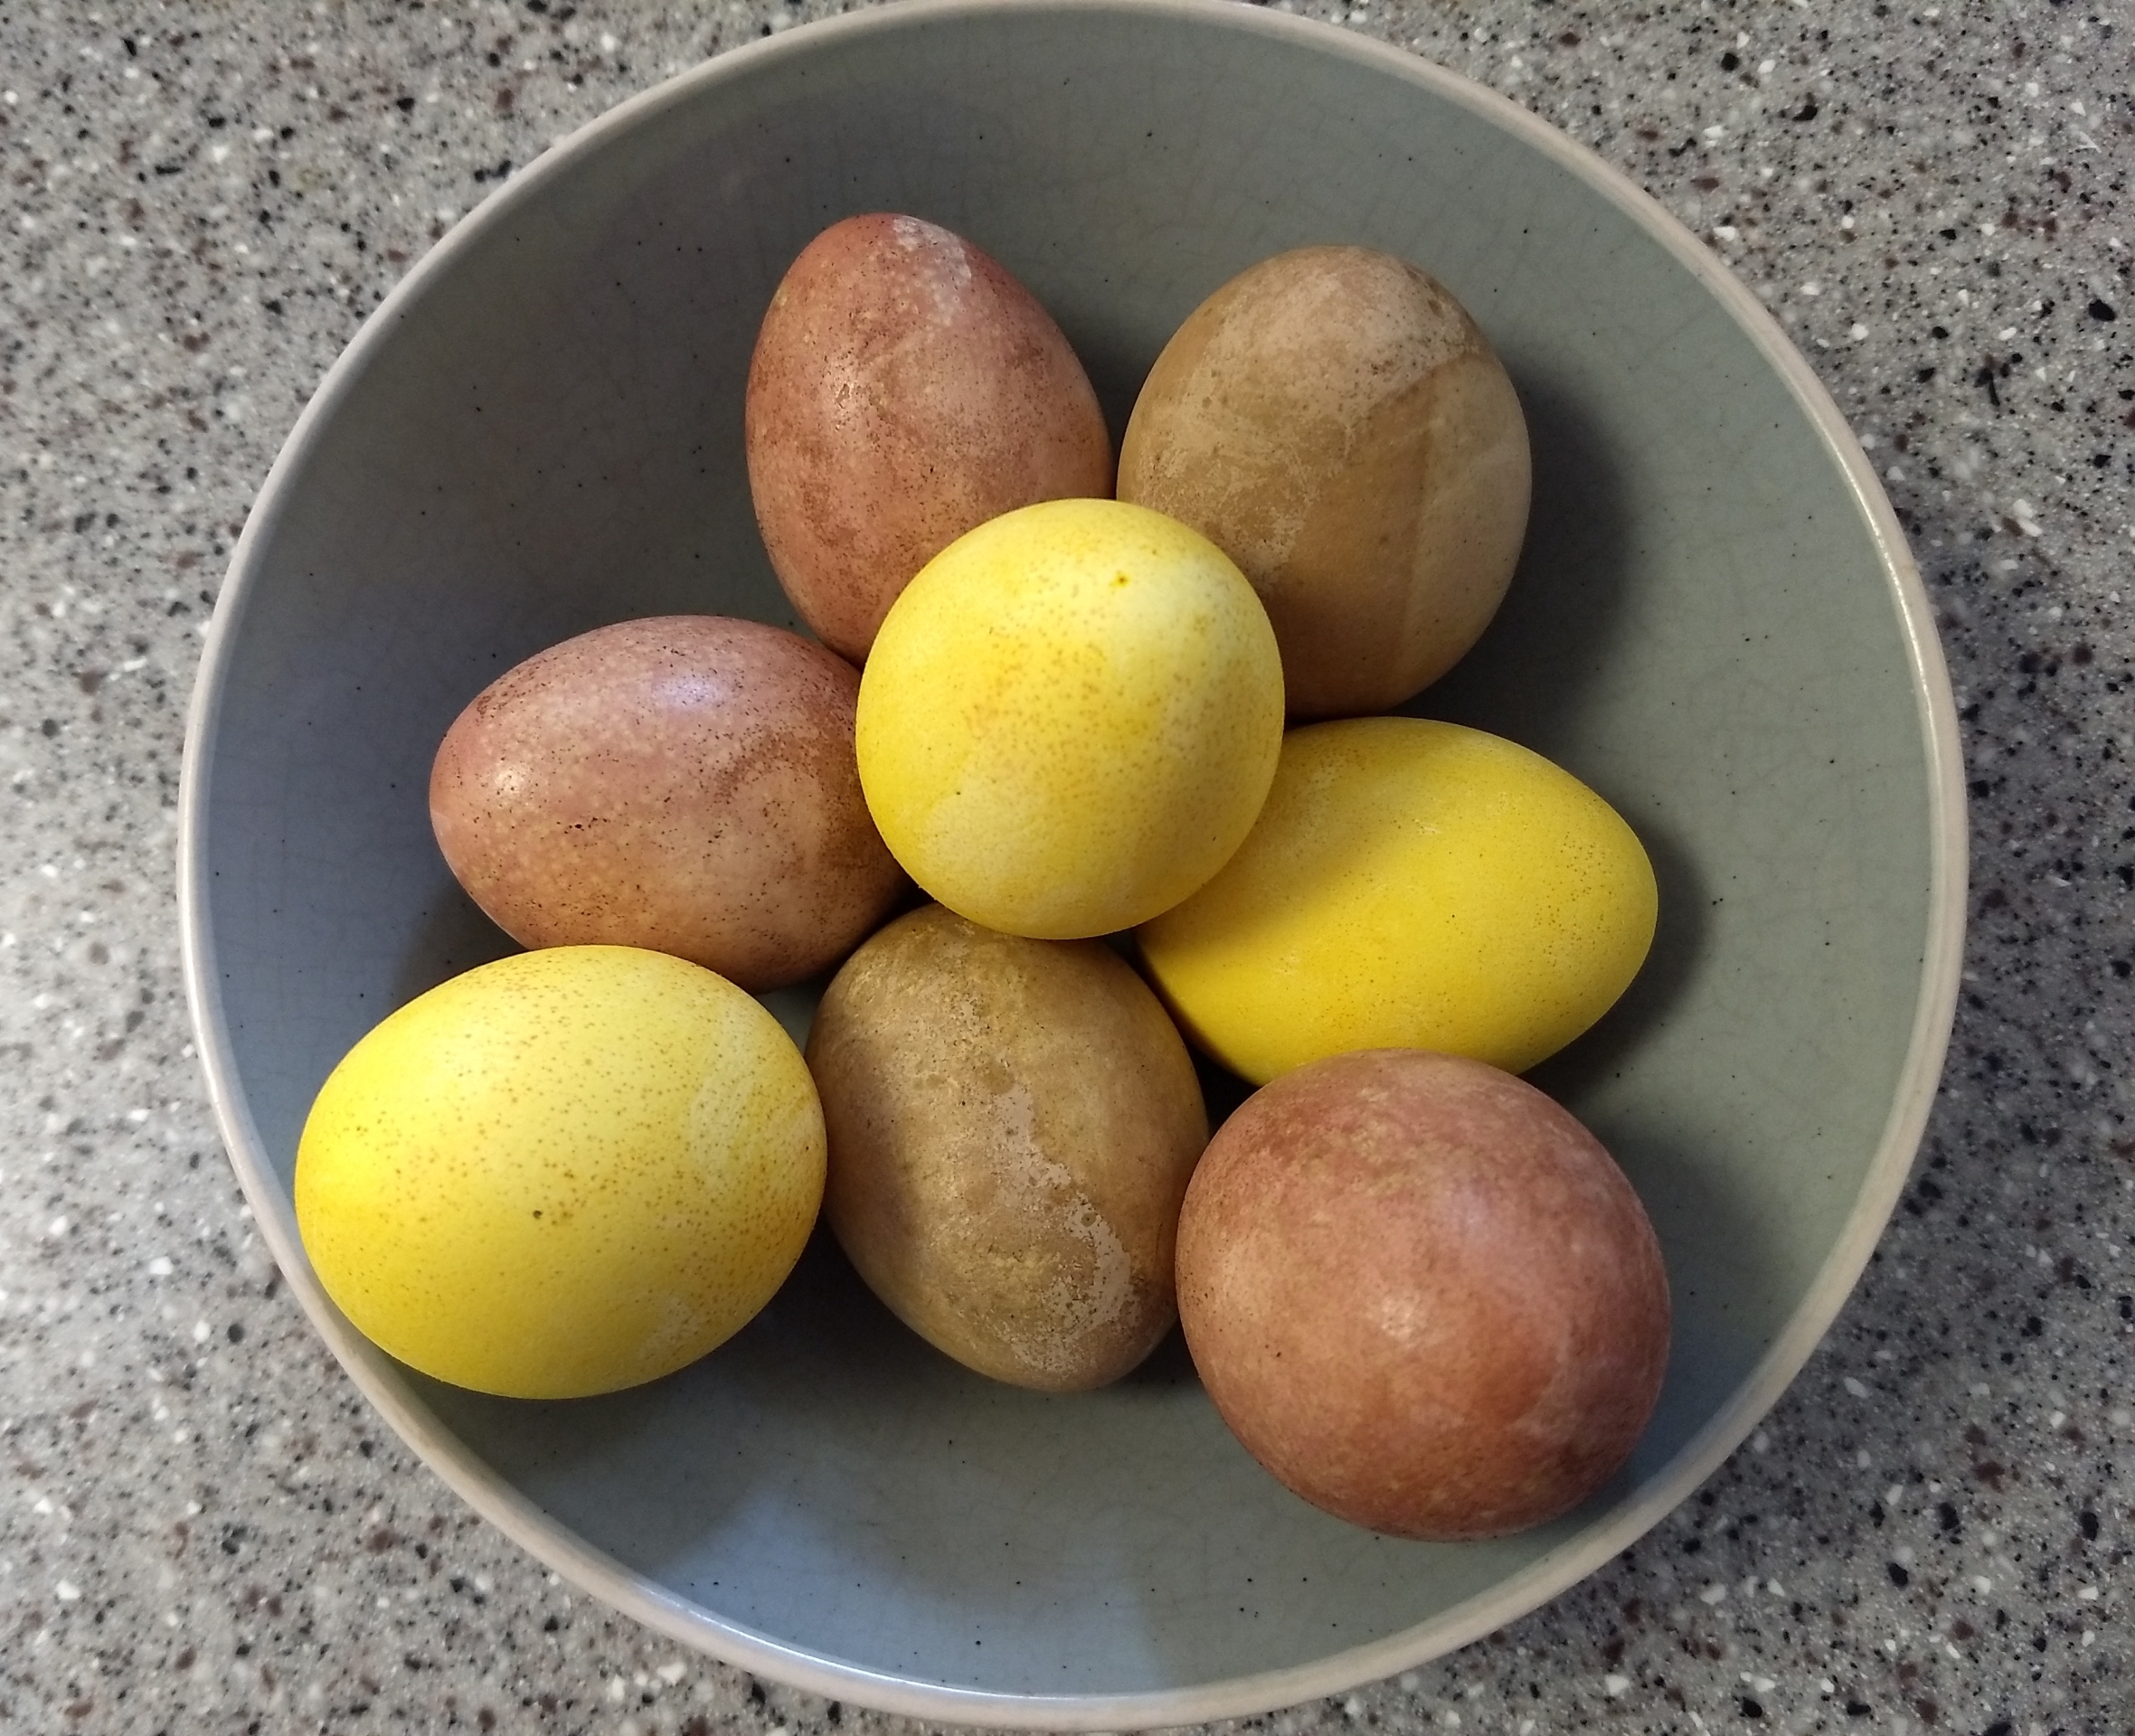
This is a fun way of engaging yourself and your children in the magic of natural art and creation without having to purchase anything at all. While I used the dyes to tint hard boiled eggs for Easter, you could easily use these natural dyes for staining fabric*, yarn*, paper or simply use them as water colours :). They may turn out to be fainter than most synthetic dyes and paints but it really is a confluence of factors making up the final tone – how long you simmer your starting materials at the outset, how long you leave your item(s) submerged AS WELL AS how many times they are taken out, dried and re-submerged. All of these will impact your final colour.
[*Note that if you are seriously looking into dyeing fabrics and yarn, you may require the help of Mordants (chemicals used to help bond the dye to the fibres) – not my wheelhouse, but there are many great sites discussing those!]
Common examples of the colours you can create using vegetables, skins and spices:
- Turmeric – yellow
- Beet skins (shredded beets) – purple / red / pink
- Red cabbage – blue / green
- Yellow onion skins – orange / rust
These ones certainly work and they’re great. And here’s the thing that will incite creativity – really you can experiment with anything! Food from the earth is CHOCK-FULL of naturally-occurring pigments that are not only safe, they are beautifully coloured in an unending palette of shades.
So it was Easter Saturday and I only had a couple of the above on hand. Hmmm…. I looked around in my cupboards for something that seemed…deeply coloured? I decided to use some Ground Allspice for a nice earthy brown – and it actually turned out great! I’ve known artist friends to use blueberries, coffee, hibiscus, spinach… your kitchen really is full of possibilities – go explore 🙂
THE GENERAL FORMULA FOR ANY AND ALL:
[ 1 cup of food material : 1 cup water ] : 1 tablespoon white vinegar / cup of cooled dye
(If you’re staining eggs, I’d recommend making at least 2x this amount for each of your desired colours – that will cover about 3 eggs depending on how you lay them out when submerged)
For example:
2 cups beet skins (or grated uncooked beets) + 2 cups water
- Bring to a boil, then simmer on low for 15-60 minutes (the longer you simmer, the less dye you will have but the stronger the colour)
- Once it’s reached your desired shade (note that your eggs / item will likely end up a shade or two LIGHTER than what you see when you test it so wait accordingly), remove from heat and let cool to room temperature.
- Add in vinegar HERE – as many tablespoons as you have of final dye liquid. Around 2 tablespoons, in this example, or a bit less. Most sites suggest using plain white vinegar but apple cider vinegar will work just as well (note the colour may alter your shade somewhat).
Use mason jars, deep lid-locking glass storage containers or any other handy containers you have around. Note that they have to be deep enough to entirely cover your item-to-be-dyed, so plan for this.
Leave submerged anywhere from 2 – 12 hours, again, based on the final colour you wish to achieve. Remove carefully, and let air dry. If dyeing eggs, you can also rub a bit of coconut or olive oil to give them a sheen.
Endless art projects await you! The best thing of all? These will be totally safe to touch and eat for you as well as for your kids, no matter what their age!
Once again, THANK YOU Nature.
I bow.
******


